
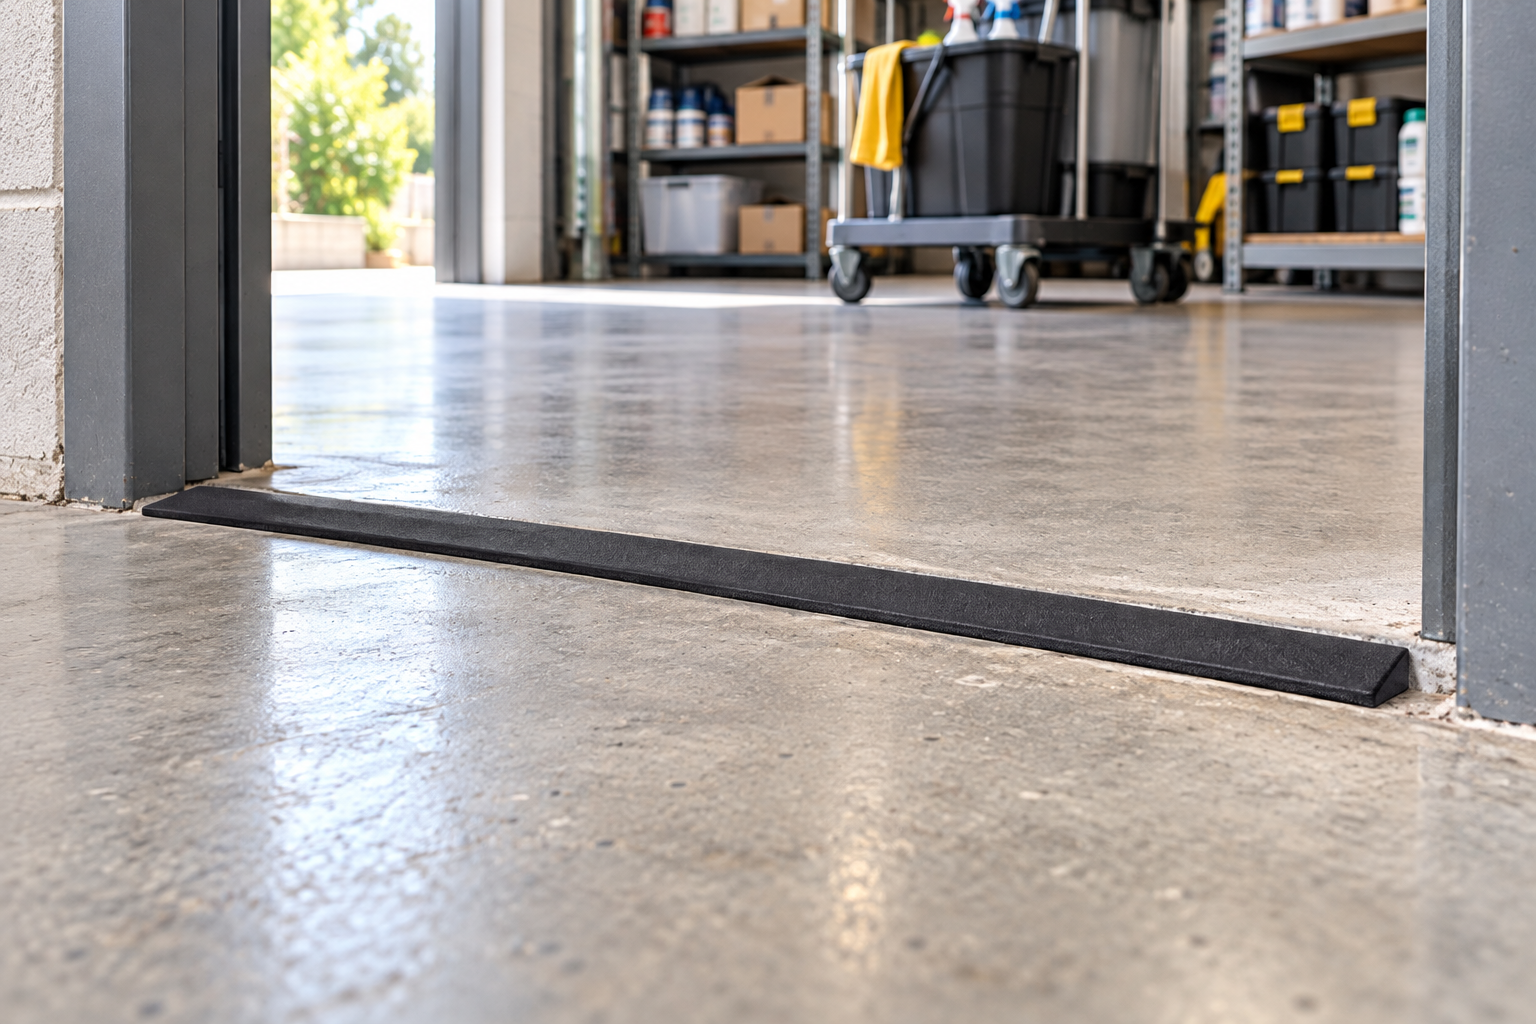
A raised doorway lip can turn a simple delivery into an awkward lift. A driveway kerb can make every arrival an exercise in avoiding a scrape. Even a small change in floor height can interrupt the movement of a pram, wheelchair or trolley.
Rubber ramps offer a way to bridge certain height differences, but choosing one involves more than finding a wedge that looks about right. The ramp needs to suit the obstacle, the surrounding space and whatever will travel over it. A doorway and a driveway may both need smoother transitions, yet their requirements are very different.
For Australian property owners comparing rubber ramps, Rubbr's range includes doorway, threshold and driveway kerb options. Understanding those categories helps narrow the search. This guide explains how to assess an access problem, compare suitable products and plan an installation that works in everyday use.
1. Identify the Access Problem Before Choosing a Ramp
Start by watching how people and equipment move through the area. The most obvious obstacle may be only part of the problem. A trolley might catch on a threshold because its wheels are small, while a wheelchair user might also need more room to approach the doorway straight on.
Describe the difficulty in practical terms. Are wheels stopping at a raised edge? Does someone regularly lift a loaded trolley? Is a vehicle scraping as it crosses a kerb? Does the door open into the space where a ramp would sit? These observations create a clearer brief than simply deciding the entrance needs improvement.
Consider everyone who uses the route. At home, that could include family members, visitors, delivery drivers and gardeners. In a business, the same doorway might carry pedestrian traffic, cleaning equipment and stock deliveries. A solution selected for one task should not create an obstruction for another.
It also helps to separate a level change from other maintenance issues. Loose paving, broken concrete and unstable flooring need attention in their own right. Covering damage with a ramp can conceal the original problem without creating a dependable crossing.
Safe Work Australia identifies uneven flooring edges, loose mats and wet or greasy surfaces among common slip and trip hazards. That wider context matters: improving a threshold should be part of maintaining a clear, well-managed route.
Write down the intended outcome before shopping. For example, you might want a loaded garden trolley to cross a garage threshold without lifting its front wheels. That specific goal makes product comparisons much easier.
Consider a small shop receiving stock through a rear doorway. The threshold might be low, yet the delivery trolley regularly stops at it. Measuring the rise is useful, but so is noticing that staff turn sharply before entering and stack empty cartons beside the door. A suitable ramp could address the level change, while moving the cartons could improve the approach. Looking at both issues produces a more useful plan than buying a ramp from a photograph of the threshold.
2. Match Rubber Ramps to Their Intended Use
Doorways and small floor transitions
A threshold ramp is designed to provide a sloping transition at a raised edge. Depending on the product and the site, this might be a doorway sill, a garage entrance or a small difference between adjoining surfaces.
The fit at the top and bottom matters as much as the ramp's overall size. A ramp that stops below the threshold leaves another lip to cross. One that sits too high can create an awkward transition in the opposite direction. The goal is a suitable connection between surfaces, with the ramp properly supported.
Look at how the doorway operates throughout the day. A door that clears the ramp when fully open may still catch it halfway through its swing. Check any screen door as well, and consider whether the ramp would interfere with a track, seal or existing drainage opening.
Wheelchairs, mobility equipment and prams
When a ramp will be used with mobility equipment, assess the whole journey through the entrance. The user needs space to approach, cross the ramp and continue beyond it. A doorway can remain difficult if the surrounding layout requires a tight turn immediately before or after the crossing.
Match the ramp to the specific equipment and the person's requirements. Check relevant equipment guidance and discuss the arrangement with the user. Width, gradient, surface transitions and available manoeuvring space all deserve attention. A product described as an access ramp still needs to suit the actual location.
Prams and small carts also benefit from careful positioning. Think about where their wheels naturally travel, including when someone approaches slightly off-centre.
Driveway kerbs and vehicle access
Vehicle kerb ramps address a different problem: the transition between a road or gutter and a driveway. Selection depends on the kerb profile, the driveway approach and the vehicles using the entrance.
Pay particular attention to shape. A product intended for a rolled kerb should be assessed against that profile. Height alone does not establish a good fit. An unsuitable underside or rear edge may leave gaps or prevent the ramp from sitting correctly.
For sectional systems, plan the coverage across the entrance and check how adjoining pieces connect. Include the route tyres actually follow when entering and leaving. Also examine gutter flow, since placement should account for water moving along the kerb.
Trolleys and workplace equipment
In workshops and commercial premises, identify the equipment before choosing a ramp. A stock trolley, pallet jack and powered vehicle place different demands on a crossing. Check the manufacturer's stated applications and loading information for the proposed use rather than relying on appearance or material alone.
3. Measure the Entire Crossing, Not Just the Height
Record the vertical rise
Measure the difference between the lower surface and the point the ramp needs to meet. Take measurements at several positions across the intended crossing, particularly outdoors, where surfaces may slope or vary.
If the height changes from one side to the other, record that variation and share it with the supplier. A photograph with a ruler in view can help explain the location, although it should accompany accurate measurements.
Keep units consistent. Record dimensions in millimetres and label each one clearly. A sketch marked with height, width and available depth reduces confusion when comparing specifications.
Check the usable width
Measure the clear route people or equipment can actually use. Door frames, posts, handles, stored items and nearby furniture may reduce the space. A wide ramp is less useful if an obstruction narrows the approach.
For wheeled equipment, consider the outer wheel positions and normal steering movements. The crossing should accommodate the intended travel path without requiring an awkward, precise manoeuvre every time.
Allow enough room for the slope
Ramp height and horizontal length work together. For the same rise, a longer run creates a gentler slope, but it also occupies more space. A compact ramp may fit neatly beside a doorway while leaving a steeper crossing than the user or equipment can comfortably manage.
Assess the available space alongside the intended use. Avoid selecting the shortest option simply because it keeps the floor clear. Equally, check whether a longer ramp would intrude into a corridor, block circulation or interfere with opening a door.
Examine both approaches
Measure the space before and after the ramp. Consider turning, waiting and opening doors, particularly when a person is pushing equipment. A ramp should work as part of the route, including the moments immediately before and after crossing it.
Take photographs from the front and side. Include nearby drains, door tracks and changes in ground level. These details give a supplier a better basis for answering questions about fit.
4. Compare Products Using Practical Criteria
Intended application and loading
Begin with the manufacturer's stated use. A pedestrian threshold product should not be assumed suitable for cars, and a vehicle ramp should not automatically be treated as an appropriate wheelchair solution.
Where loading information is provided, confirm what it means. Ask whether the rating applies to one piece or an assembled system, and whether it covers your equipment under normal operating conditions. Include the equipment itself and what it carries when describing the expected load.
Surface and environmental conditions
Consider where the ramp will sit. A sheltered indoor threshold faces different conditions from an exposed driveway. Check the product's stated suitability for the location, including exposure to rain, sunlight or substances used nearby.
Surface texture is worth examining, but it should be considered alongside cleaning and drainage. Dirt, leaves and spills can change the condition of a crossing. Ask how the manufacturer recommends maintaining the surface in your setting.
Stability and fixing requirements
Understand how the ramp will remain in position. Depending on the design and application, installation may involve simple placement, joined sections, mechanical fixings or another specified method.
Weight alone does not answer the question of stability. Ask what the manufacturer requires for the surface and traffic involved. If fixing is needed, establish whether the base can accept the specified method and whether installation needs professional help.
Drainage and surrounding features
For outdoor locations, trace where water currently goes. Check any proposed drainage channel against the actual gutter or surface arrangement. Its presence does not remove the need to assess fit or keep the route clear.
For a shared driveway or strata property, confirm placement and fixing arrangements with the property manager. For roadside locations, check with the local council or relevant road authority before placing or fixing a ramp.
Purchase details
Compare the complete cost, including delivery, required accessories and installation. Confirm the selected dimensions, product quantity and return conditions. For joined sections, check whether connectors and end pieces are included or purchased separately. Clear answers before ordering can prevent an otherwise suitable product arriving as an incomplete solution.
Before placing your order, send the supplier a short description of the site, your measurements and photographs. Explain who will use the ramp, what equipment will cross it and whether the location is exposed to weather. Ask them to confirm the selected model and installation method against those details. Keep their response with the product instructions so the basis for your choice remains available if the entrance changes or a replacement is needed later.
5. Plan Installation and Keep the Crossing in Good Condition
Prepare the location according to the manufacturer's instructions. Remove debris and check that the supporting surface is sound. A ramp should sit as its design requires, without unsupported areas, rocking or gaps that undermine the intended transition.
Before putting the crossing into routine use, inspect its position from each approach. Check the door's full movement, the edges, the surrounding walkway and any drainage features. Confirm that adjoining sections are aligned and secured as specified.
Assess the result against the original task. If the aim was to improve trolley access, consider the trolley's normal route and loading. If the ramp supports someone's mobility needs, involve that person in assessing the arrangement, with appropriate assistance where needed.
Keep maintenance straightforward and specific to the product. Follow the recommended cleaning method, remove accumulated debris and check underneath where access is provided. Outdoor drainage openings need attention after leaf fall or heavy rain.
Inspect for movement, damage, loose connections and changes at the edges. The surrounding surface can change too: paving may settle, a door may be replaced or storage may gradually reduce the available approach space. Review the crossing when its conditions change.
In a business, assign responsibility for these checks. A simple inspection routine is more dependable when someone knows which entrance to review and what to report. Keep the product instructions available for future maintenance or replacement.
Finally, resist treating the initial purchase as the end of the job. The useful test is whether the crossing continues to work for its intended users during ordinary activity. A well-chosen ramp, correctly positioned and maintained, can make a troublesome transition easier to manage. The best starting point is a clear description of the problem, accurate measurements and a product selected for that specific task.