A lot of simple and useful functions will allow you to process any photo perfectly. But there is another important reason why this app is so popular, and that is the ability to apply the same settings to multiple pictures at the same time. This is done with the help of presets. Many photographers and bloggers enjoy using this feature to give photos the same style. In Skylum's blog, you can find many informative articles about photography and post-processing, including using vintage presets for Lightroom.
Today we're going to look at how you can use this incredible feature to make your photos look amazing!
Let's start with the definition
As we noted earlier, these are ready-made settings for picture processing. So why are they so useful?
On average, it takes up to 30 minutes to process one image. This time is spent on selecting filters, correcting white balance, exposure, and other settings. You can increase the work speed by 3-6 times with ready-made presets. As soon as you use it, the image is instantly corrected.
You can buy or download such combinations in the form of different file formats. They only work inside the application itself. First, you need to download the presets into Lightroom on your computer or smartphone and install them. Only after that can you apply them to edit a photo.
File formats
This is an extension that the program supports. It is specified after the file name. Let's look at each of them:
- DNG - this is a ready-made image with a set of correction settings. You can apply them to your photos. The advantage of this file is that you can see at a glance how the edited picture will look like (there is a photo example for that);
- XMP - the file with all settings, but without the example photo;
- LRTemplate - the format used before 2018. The program still recognizes it but converts it to a more modern - XMP. This happens automatically after downloading.
After installing any of the above formats, you can start photo processing.
Where to get ready-made combinations of settings
You can buy presets, find free options on the Internet, or create them yourself. Let's consider the first two ways.
For a fee
Buy from bloggers, photographers, and artists. Many people who create their own presets are willing to sell them. Sometimes the style sets are included in paid training courses.
Most often bloggers sell files in DNG format. They can be installed on a PC, but are most often used in a mobile app.
Free
Where to get free presets for Lightroom? Sometimes they are given away by bloggers, and photographers. For example, it can be a promotion when buying a course, a giveaway, etc. Also, you can download it online. Sometimes people share their work for free on forums.
Another variant is to use ready-made "Styles" in Lightroom, but their number is limited.
Installing and using on a PC
To use presets in Lightroom, just follow a simple algorithm:
- enter the application;
- select the Develop section;
- on the left side will be a panel with different tools. Among them, you will find Presets (may be called "Styles" depending on the version of the program).
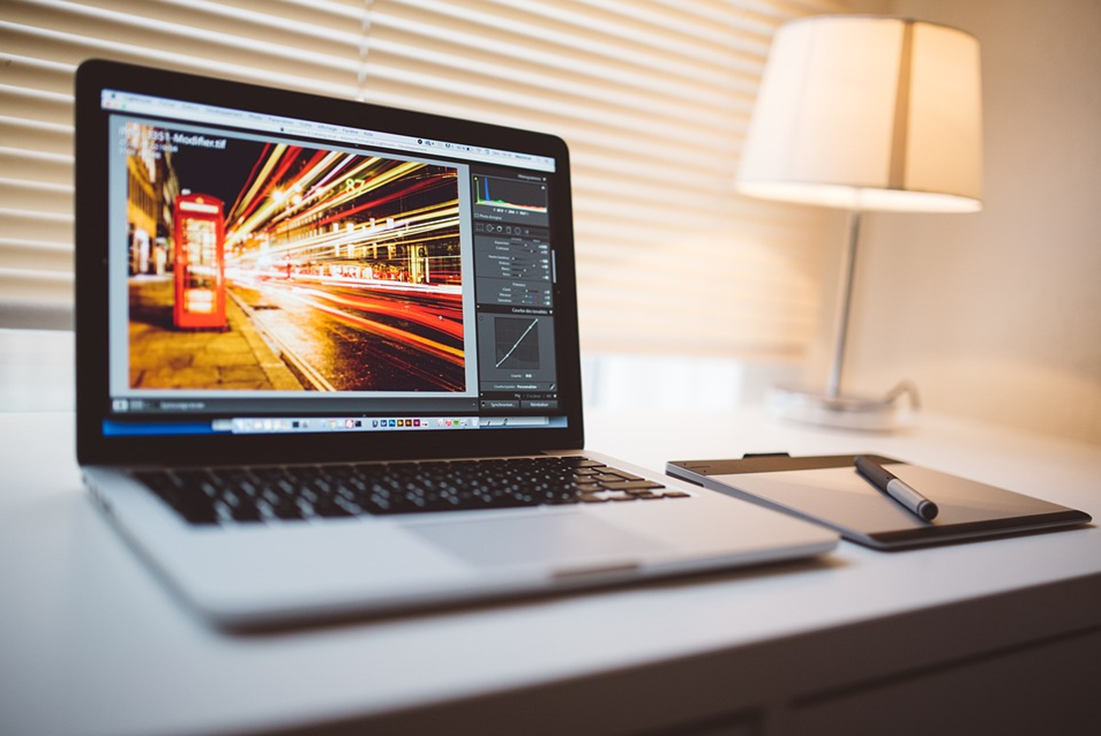
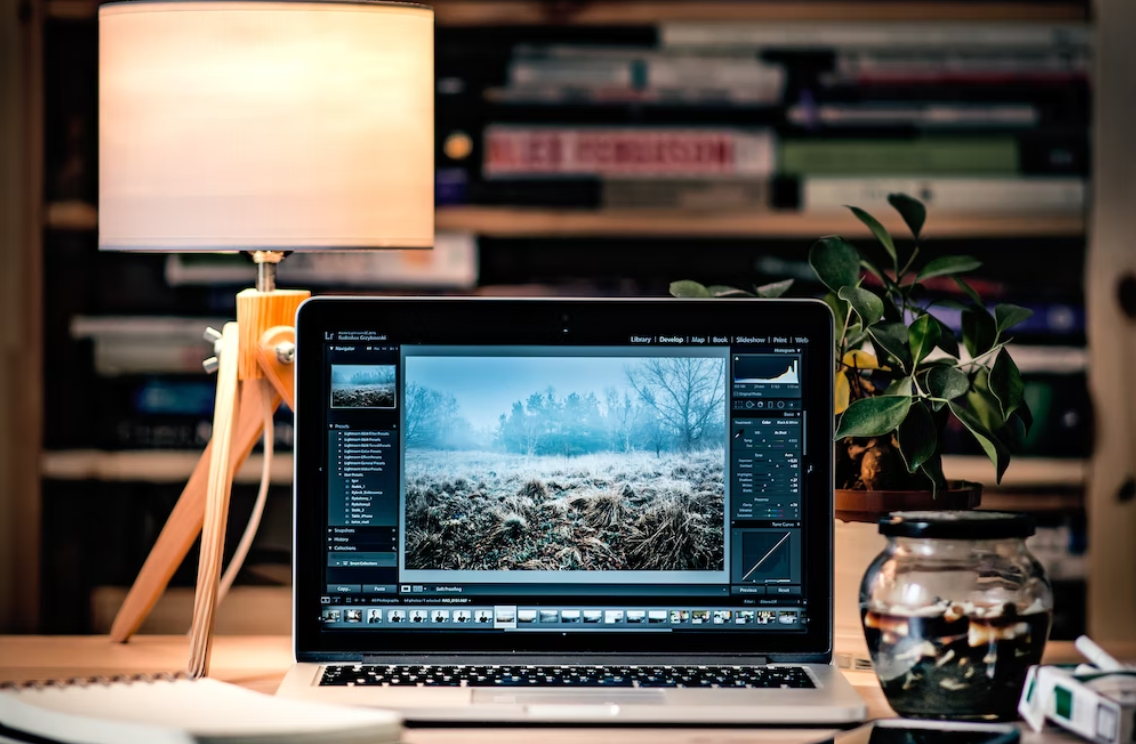
Clicking on this tab will open a list of styles that are already installed. To check them, just hover over each one. The image will change - this is an example of how the photo will look after applying the style.
LRTemplate (XMP)
This method helps you install presets in LRTemplate (XMP) format in Lightroom on your computer. You need to:
- open "Presets" as described above;
- click on "+" icon next to the word "Presets";
- a small menu will open. In it, select "Import";
- select the downloaded file;
- click on "Import".
Now you have uploaded a new style to the application. Where it will appear? In the general list on the left. Usually, new uploads are placed at the end of the list, but in some versions of the software they appear immediately in alphabetical order. Just click to apply it to the open image.
You can rename a file even after it has been loaded into the program. All you have to do is right-click on it, select the desired item in the menu that appears, enter the new name, and save it.
Decided to download a lot of files? Then you can sort them into folders. To do this:
- right-click on any filter;
- click on "Move";
- click on "New Group" or on a folder you have already created;
- save the settings.
DNG
The peculiarity of this format is that it contains not only the settings but also a ready-made image, so you can't add it through "Import". It can be opened only through the "Library". You have to:
- go to the "Library" section;
- move there the file in the required format;
- click on "Import";
- on the main screen, the photo with the desired style will be opened. Now open the "Processing" section, select "Presets" on the left side of the toolbar;
- click on the "+" button and select Create;
- give a name to the new style.
How to open a new preset on a smartphone
You can only open the DNG format on your phone. You need to:
- enter the Lightroom application;
- open the Library tab;
- tap on the preset photo;
- tap on the 3 dots in the upper right corner - a menu will open, select "Create Style";
- name the style, and check the boxes next to the settings you want to copy. Tap on the mark in the upper right corner.

Using presets is a great way to make photo processing easier and to give your photos a very special style. We wish you a lot of creative success!